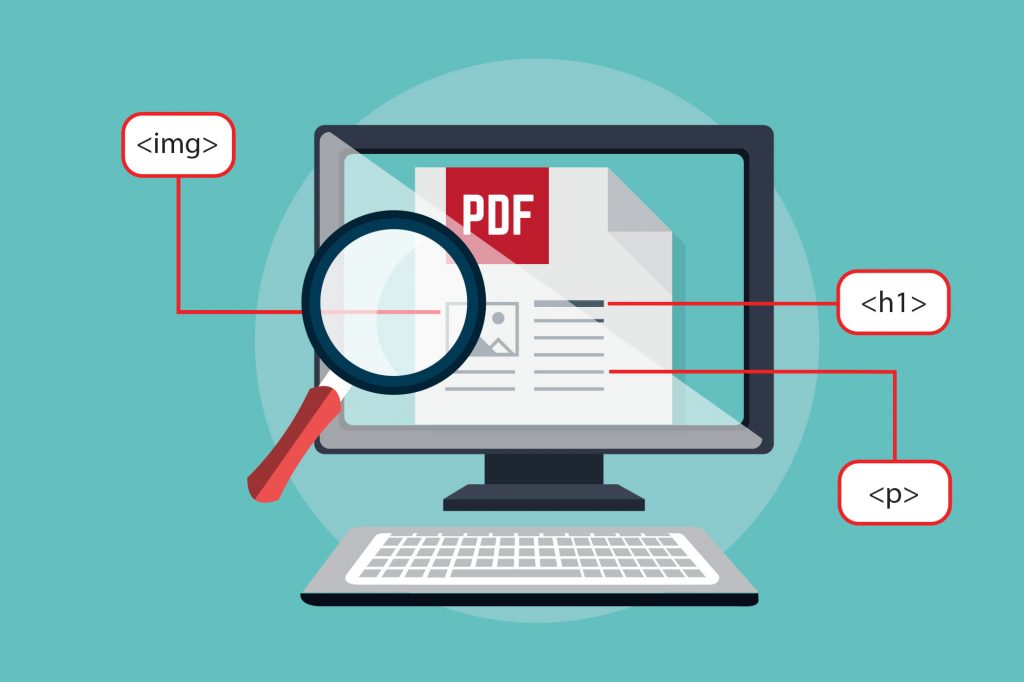
If you design content for government, you’ve most likely come across the dreaded question at the end of a project: “is this PDF accessible?”
Although this question can leave designers feeling stressed and overwhelmed, setting up a document with accessibility in mind from the get-go can make the process a lot easier for you in the end.
Access to information is a fundamental human right and it is the responsibility of the designer to ensure that the digital content they create can be accessed by people with disabilities or impairments. Australian federal, state and territory government departments require that documents are compliant with levels A and AA of Web Content Accessibility Guidelines (WCAG) 2.0 and you are strongly encouraged to meet WCAG 2.1 Level AA which will provide a more accessible experience. So you should always assume that the documents you are creating for the government need to be accessible.
With that in mind, here is a list of ways to make your InDesign files accessible before exporting to ensure a pain-free process for all your projects:
1. Logical Layout
To begin with, start thinking about accessibility first. Do not wait until the end of the project or design to convert it to an accessible PDF. This means, design the content so that it reads logically (from top left to bottom right). You can also set the reading order of stories by dragging elements into the articles panel (Windows > Articles) and ordering them accordingly. This will ensure that assistive technology like screen readers or voice recognition can navigate and read the text correctly.
2. Live Text
Don’t convert your text to outlines. If a font does not allow embedding, change it to one that does or if you must outline a font, make sure to include the text by using the object export options feature: (Object > Object Export Options > Alt text > Custom> paste the same text).
3. Optimise text
Ensure the content is written in a style that is inclusive and easy to understand. Aim for age 9 reading level (Australian Year 3 or Year 4) so everyone can understand the content. Use headings that clearly describe the topic to help navigate users around the document and delete any empty paragraph returns. Using the correct punctuation will also ensure that the screen reader voices it correctly.
4. Use tags
Use paragraph styles for all text and define export tags for every paragraph style (Paragraph Style > Style Options> Export Tagging> Select from the PDF tag dropdown menu). Body text should be tagged with paragraph tags <p> and headings with <h1>,<h2> etc. Create PDF bookmarks to serve as a valuable navigation tool in accessible PDFs. These can be created manually (Windows > Interactive > Bookmarks) or by using the table of contents feature (Layout > Table of Contents > Options > Select “Create PDF Bookmarks”).
5. Images
Only include images on a page if they meet a real user need. If you choose to use images, use the (Object > Object Export Options > Alt text > Custom) option to include meaningful, concise alternative (alt) text to accurately describe it. Anchoring graphics is a good way to ensure that the alt text is read at the correct time by the screen reader and tag non-essential graphics as artefacts (Object > Object Export Options > Tagged PDF > Apply Tag: Artifact) so that they can be ignored.
6. Colour contrast.
https://webaim.org/resources/contrastchecker/ allows you to check the contrast between a foreground and background colour and provides an accessibility rating based on font size. A contrast ratio of at least 4.5:1is required for normal text and at least 3:1 for large-scale text so be sure to check any colours before using them.
Additionally, you also would want to consider colour blind readers when creating content. Some tips to make content more accessible to colour blind readers – use different lines on graphs (solid/dashed/dotted) and when using colours to define sections also include icons as a supporting element.
7. Add metadata
Add a title, author and brief description to the document you have created (File > File Info). This information will be read by assistive technologies first and give the visually impaired an idea of what the document is about before reading on.
8. Graphs
Keep the key close to the elements on the graph rather than under the graph. This is a way to help people who would zoom in to view the document, they will not have to revisit the key at the bottom while understanding the graph.
9. Export as an interactive PDF.
When you export to PDF, in the general options select create tagged PDF, include bookmarks and hyperlinks and optimize for fast web view. Once you export your PDF, check your document for accessibility in Adobe Acrobat to identify any problems and fix them manually.
For more important information on accessibility standards, visit Web Content Accessibility Guidelines (WCAG) 2.0. We used these tips to make our recent projects more accessible, for example the Delivering for Tomorrow: APS Workforce Strategy 2025. If you need help in designing accessible reports for your department, reach out to us at [email protected]
